Create Realistic Images of Your Design
Create Realistic Images of Your Design
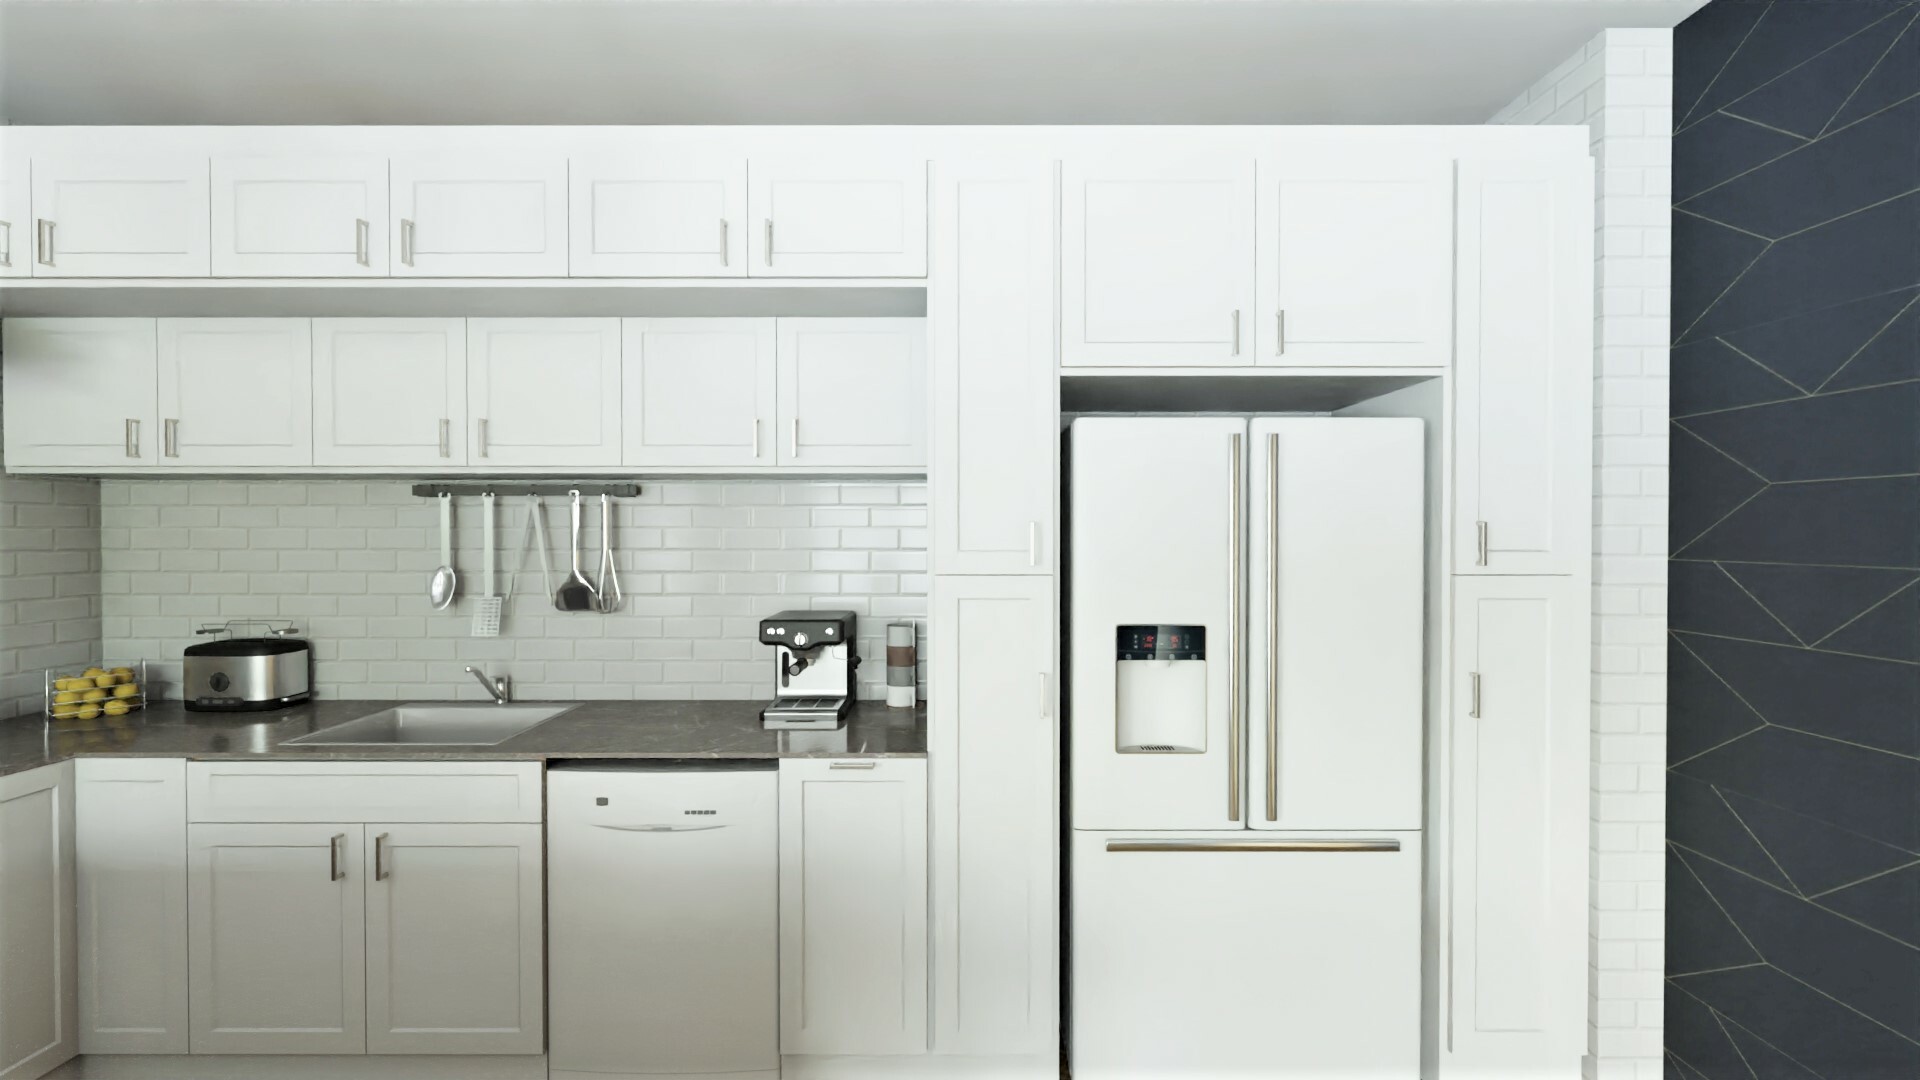
Create high-quality images of your design, so you can see your kitchen virtually before we make it a reality, with our realistic image rendering tool!

Step One: Make sure to have your design saved and select “create an image” to begin the journey!

Step Two: Select “get started” to open the image capturing tool. In some browsers, you may need to scroll down.

Step Three: A focus lens will appear on your screen. Scroll in and out or around to capture the best angle of your kitchen! You can change the height of the perspective by adjusting the point on this scale:

Step Four: You can also adjust the sun position and inclination to change the lighting and create shadows in your space. Also be sure to include a background image if you have a window or door!

Step Five: Click “generate” once you have the perfect shot! Don’t worry, you’ll be able to capture multiple images in one session.
Step Six: To view your HQ images, select the “next step” at the top right corner of the kitchen planning tool. This will take you to your summary page where you can see your project overview. Please allow about 5 minutes for the images to generate!

Step 7: At the bottom of your page, there will be the option to select “2D plans and pictures”. Your HQ images will be ready under the pictures tab.

Note: 2D plans will be accessible once a deposit has been paid for your design.